Setting up a nodejs server on Raspberry Pi with example
This tutorial assume you have basic JavaScript knowledge and you can navigate between directories using the terminal. The purpose is to serve js apps from your Raspberry Pi.
We will create a very basic server when you visit it using the browser, it should say "Lights on!"
Node server requirements
It is required to have node, npm pre-installed on your Pi or Linux machine for this to work. You can verify having those by opening the terminal (Pi menu > accessories > terminal) and type in those commands one by one.
node -v
npm -v
Each of these commands should return you back a version number. For example my node -v result on the terminal is v14.15.3. In case you don't have any of these packages you need install them using the command.
sudo apt update
sudo apt install nodejs
Now that we verified our node and npm installed we need to create a folder to store all the code to run node server.
Setting up the server
Navigate to your Pi home directory located at /home/pi and create a new folder called "Projects", you can simply type in the terminal mkdir /home/pi/Projects and it will create it for you. Here we will store all of our code projects.
Now go to your "Projects" directory and create another folder there, let's call it "lights". /home/pi/Projects/lights This will be our new project root.
Next, navigate to the project root using terminal and initialize a new npm project with the command:
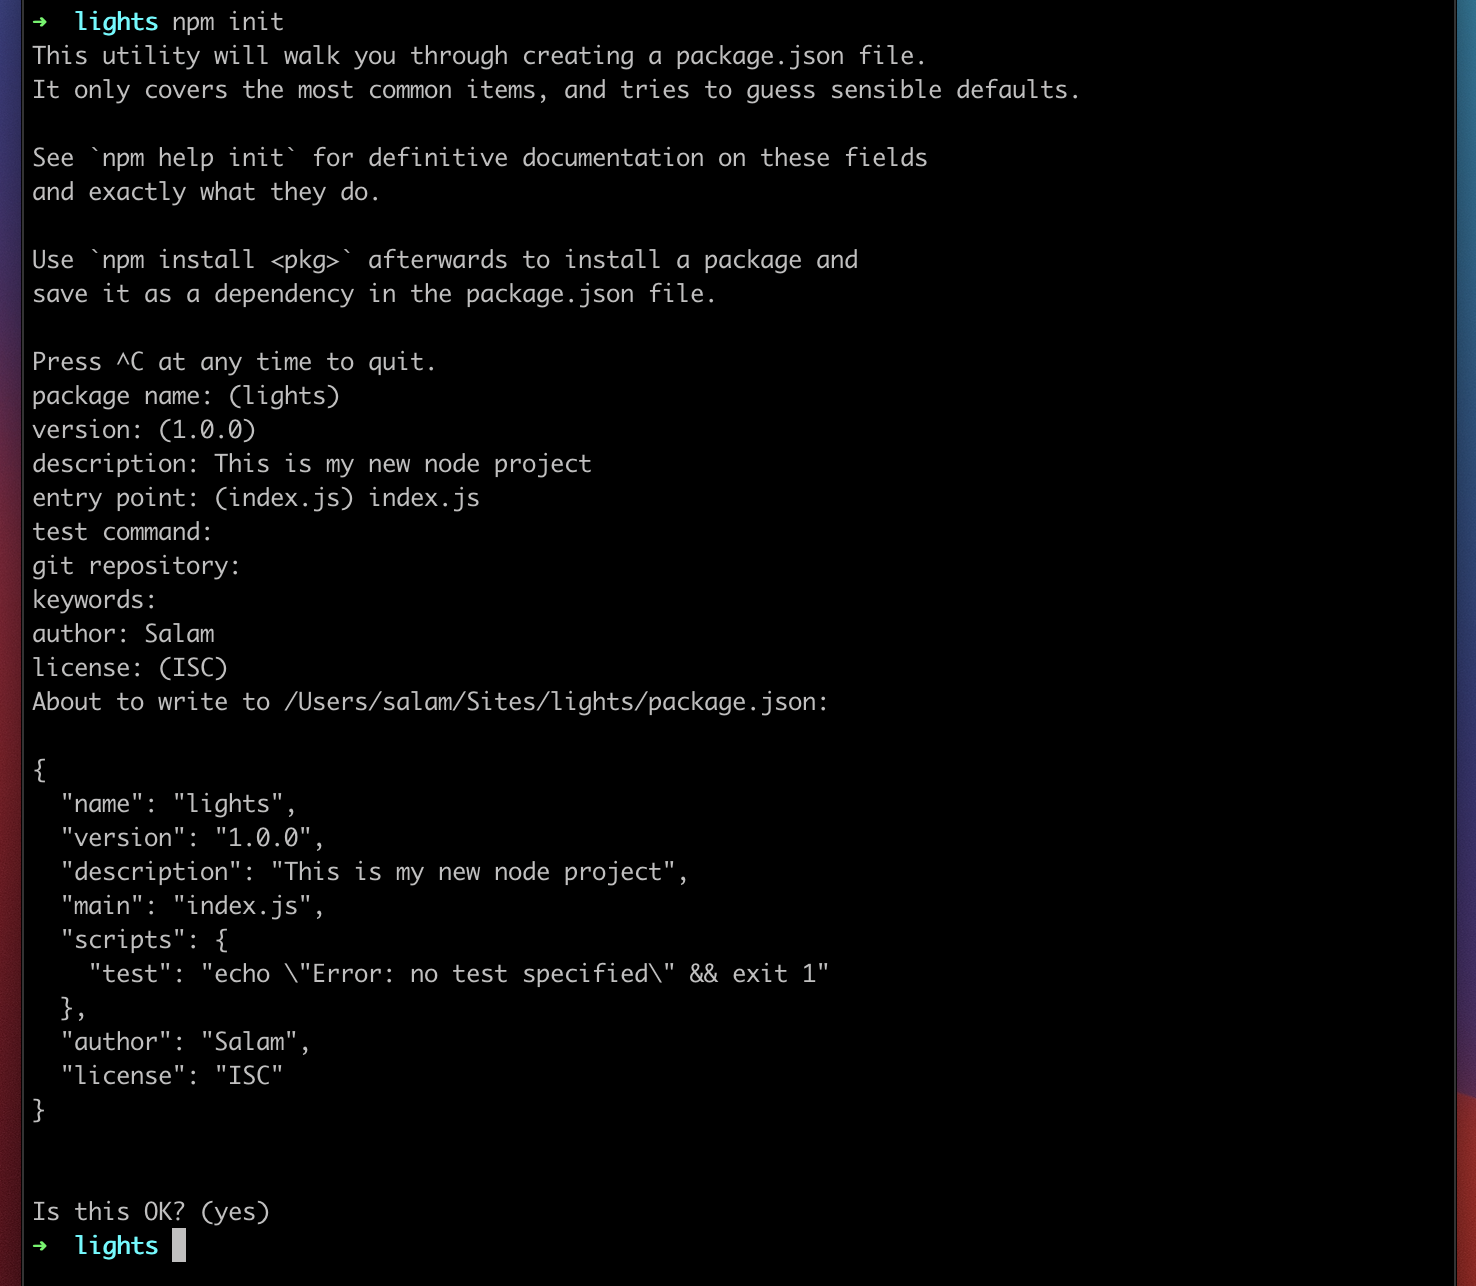
npm initYou will get a setup wizard on the terminal which will ask you few basic questions like "package name" and "description" and so on. Fill in the blanks or hit "enter" on your keyboard to skip.
This screenshot shows how the wizard should look like with my input.
Once done you should have a boilerplate package.json file in your project, it should look something like this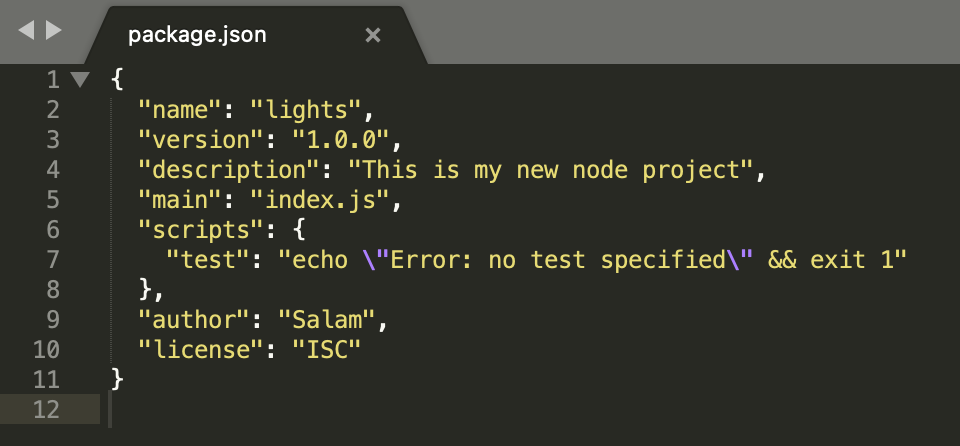
Now time to install few npm packages that will allow us to serve some code. Type in the command and wait for the installer to finish.
npm install babel-cli babel-preset-env expressThis line will install 3 packages: babel-cli, babel-preset and express those are needed to run the server.
One more file needed for the server to be ready. That is .babelrc create a new file using your code editor and call it .babelrc notice there's no extension for this file, it's literally just ".babelrc". Now paste in the following code snippet and save the file.
{
   "presets": ["env"]
}
Create a new file called index.js which be the "entry point" where we store all of the project's code and run the server.
Paste this boilerplate snippet in your index.js file
// Import and create express app
const express = require('express')
const app = express()

// All of our code will be added under this line
app.get('/', (req, res) => res.send('Lights on!'))

// Start the Express server
const PORT = 5000;

app.listen(PORT, () => {
  console.info(`Serving on: http://0.0.0.0:${PORT}`)
  return '0.0.0.0';
});
Now it's time to serve, type the command:
node_modules/.bin/babel-node index.jsYour terminal should output Serving on: http://0.0.0.0:5000 which means the server is running.
Go to your web browser and visit the link http://0.0.0.0:5000 it should say "Lights on!"
Every time you change the code in index.js you need to STOP serving by hitting command+c on your keyboard and serve again using the command mentioned above.
Done! You have a Node.js server running. You can write any valid Javascript code in index.js file.